前言
在mac中如何安装flink,并且基于flink的简单应用
安装flink
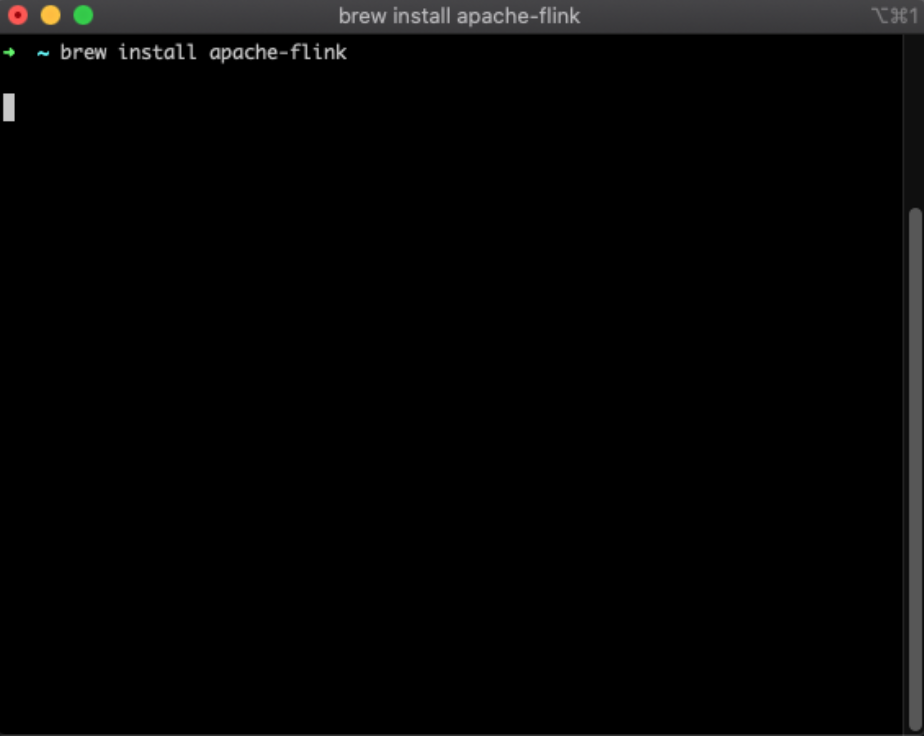
首先通过brew安装flink
brew install apache-flink
在安装好之后,可以通过
flink --version
来查看flink的版本号(注意是两个-符号)

上面就可以看到flink已经安装成功了。
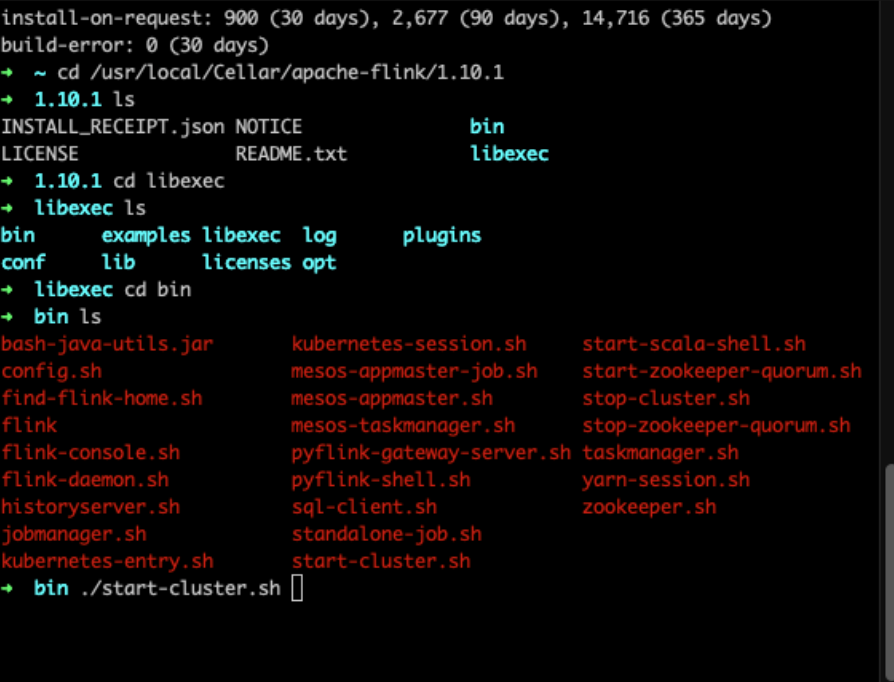
启动flink
可以通过flink安装目录当中的start-cluster.sh脚本进行启动,如果不知道flink安装在了哪个目录,可以用
brew info apache-flink
进行查看

接下来进入到安装目录当中,启动脚本
./start-cluster.sh
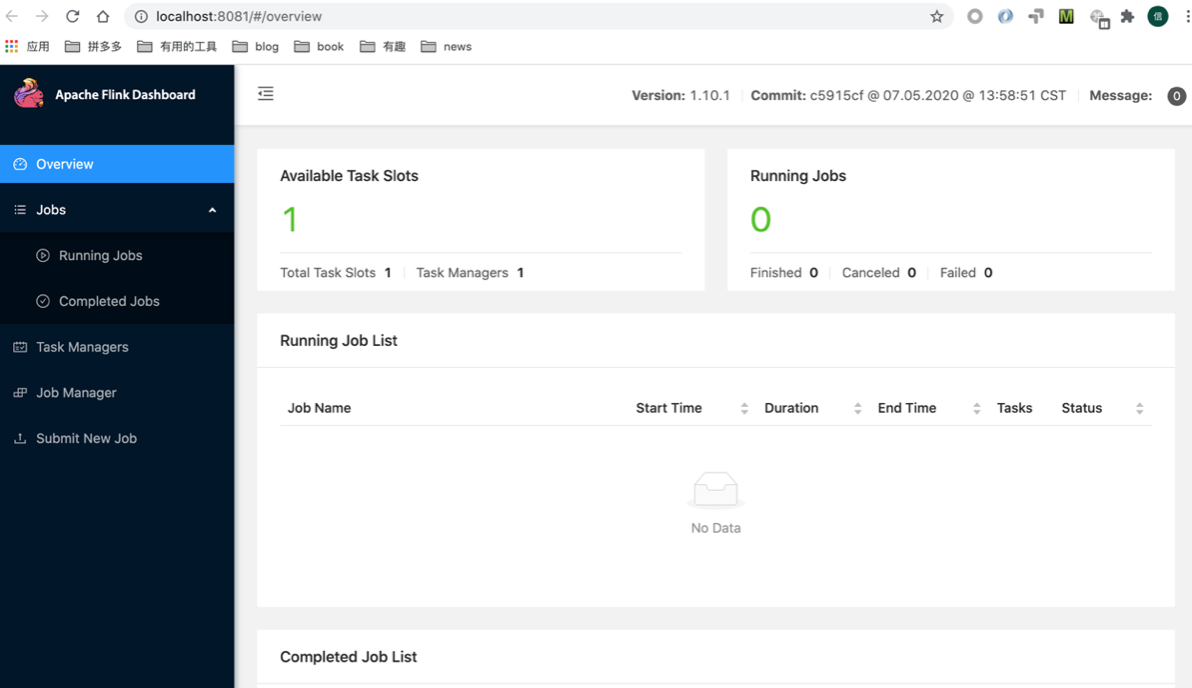
接下来就可以访问http://localhost:8081/ 看到flink的界面了
新建任务
接下来我们来执行一个简单的统计一段时间内单词出现次数的任务,首先新建一个maven项目。pom.xml中引入flink依赖
<dependency>
    <groupId>org.apache.flink</groupId>
    <artifactId>flink-streaming-java_2.12</artifactId>
    <version>1.11.1</version>
    <scope>provided</scope>
</dependency>
接下来我们新建一个类,
WordCountTest.java
public class WordCountTest {

    public static void main(String[] args) throws Exception {
        // the port to connect to
        final int port;
        try {
            final ParameterTool params = ParameterTool.fromArgs(args);
            port = params.getInt("port");
        } catch (Exception e) {
            System.err.println("No port specified. Please run 'SocketWindowWordCount --port <port>'");
            return;
        }
        // get the execution environment
        final StreamExecutionEnvironment env = StreamExecutionEnvironment.getExecutionEnvironment();
        // get input data by connecting to the socket
        DataStream<String> text = env.socketTextStream("localhost", port, "\n");
        // parse the data, group it, window it, and aggregate the counts
        DataStream<WordWithCount> windowCounts = text
                .flatMap(new FlatMapFunction<String, WordWithCount>() {
                    public void flatMap(String value, Collector<WordWithCount> out) {
                        for (String word : value.split("\\s")) {
                            out.collect(new WordWithCount(word, 1L));
                        }
                    }
                })
                .keyBy("word")
                .timeWindow(Time.seconds(5), Time.seconds(1))
                .reduce(new ReduceFunction<WordWithCount>() {
                    public WordWithCount reduce(WordWithCount a, WordWithCount b) {
                        return new WordWithCount(a.word, a.count + b.count);
                    }
                });
        // print the results with a single thread, rather than in parallel
        windowCounts.print().setParallelism(1);
        env.execute("Socket Window WordCount");
    }
    // Data type for words with count
    public static class WordWithCount {
        public String word;
        public long count;
        public WordWithCount() {}
        public WordWithCount(String word, long count) {
            this.word = word;
            this.count = count;
        }
        @Override
        public String toString() {
            return word + " : " + count;
        }
    }
}
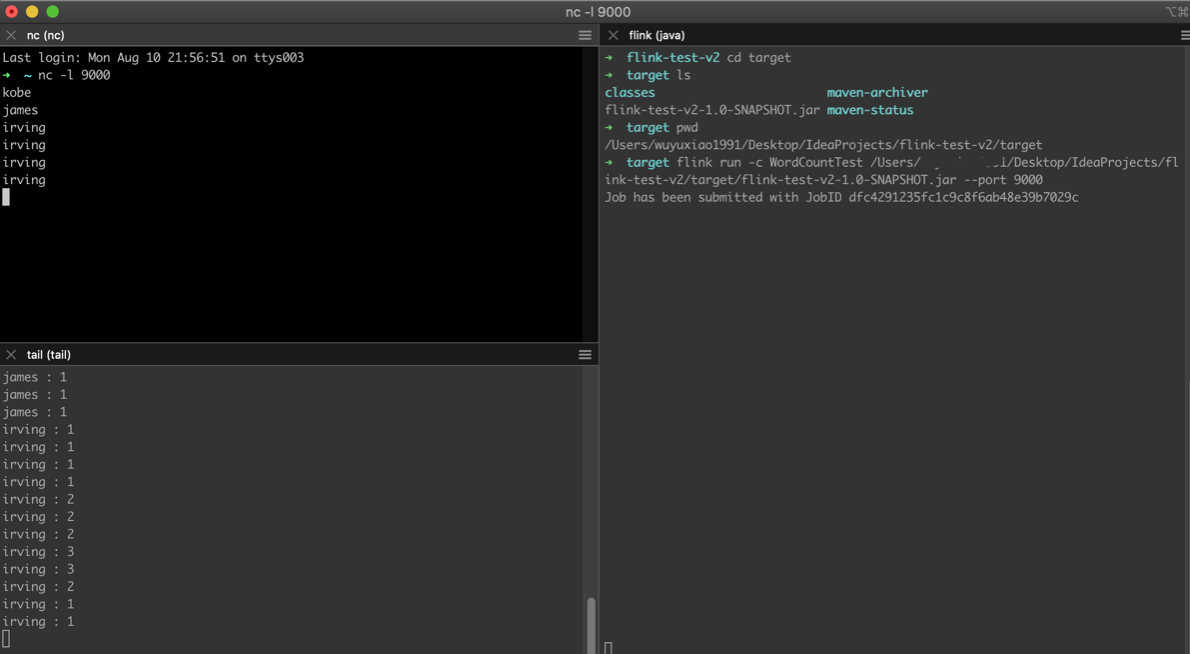
接下来用maven进行打包,会得到一个jar文件,接下来我们对端口号9000进行监听
nc -l 9000
然后我们将这个jar文件提交到flink进行处理
flink run -c WordCountTest /Users/XXXXXX/Desktop/IdeaProjects/flink-test-v2/target/flink-test-v2-1.0-SNAPSHOT.jar --port 9000
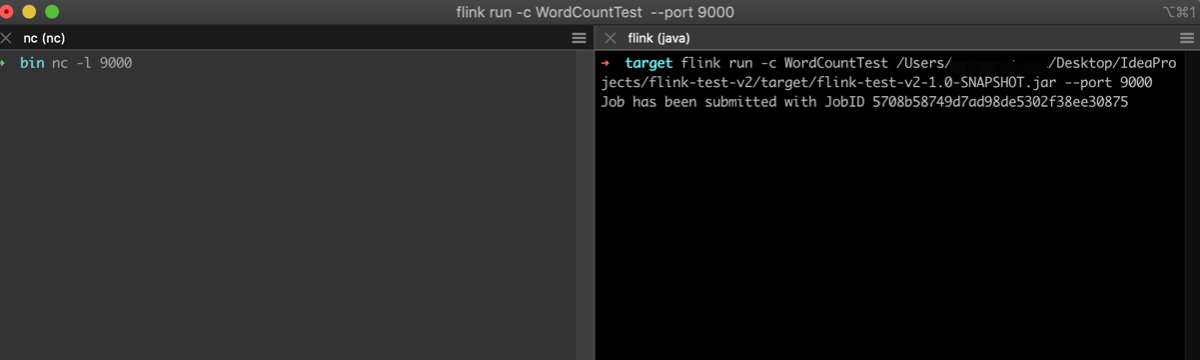
我们能够从提示中看到任务已经提交了
测试任务
我们在flink安装目录中的libexec/log 当中(/usr/local/Cellar/apache-flink/1.10.1/libexec/log)可以看到输出的日志,out后缀结尾
可以用tail命令查看out文件的输出结果
我们在nc -l 9000的命令行下面输入一些单词,并且以回车结尾,能够看到out输出文件当中能够不断输出统计的结果
当然除了这种方法,在flink的界面当中也能看到输出结果,如下图所示

如果对你有帮助,请作者喝一杯牛奶吧